How to Digitize Hand-Drawn Sketches for Pen Plotting
Turn a pencil sketch or ink drawing into a plottable SVG. Here's the full workflow — scanning, cleanup, vectorizing, and tracing — to get your hand-drawn art onto the plotter bed.
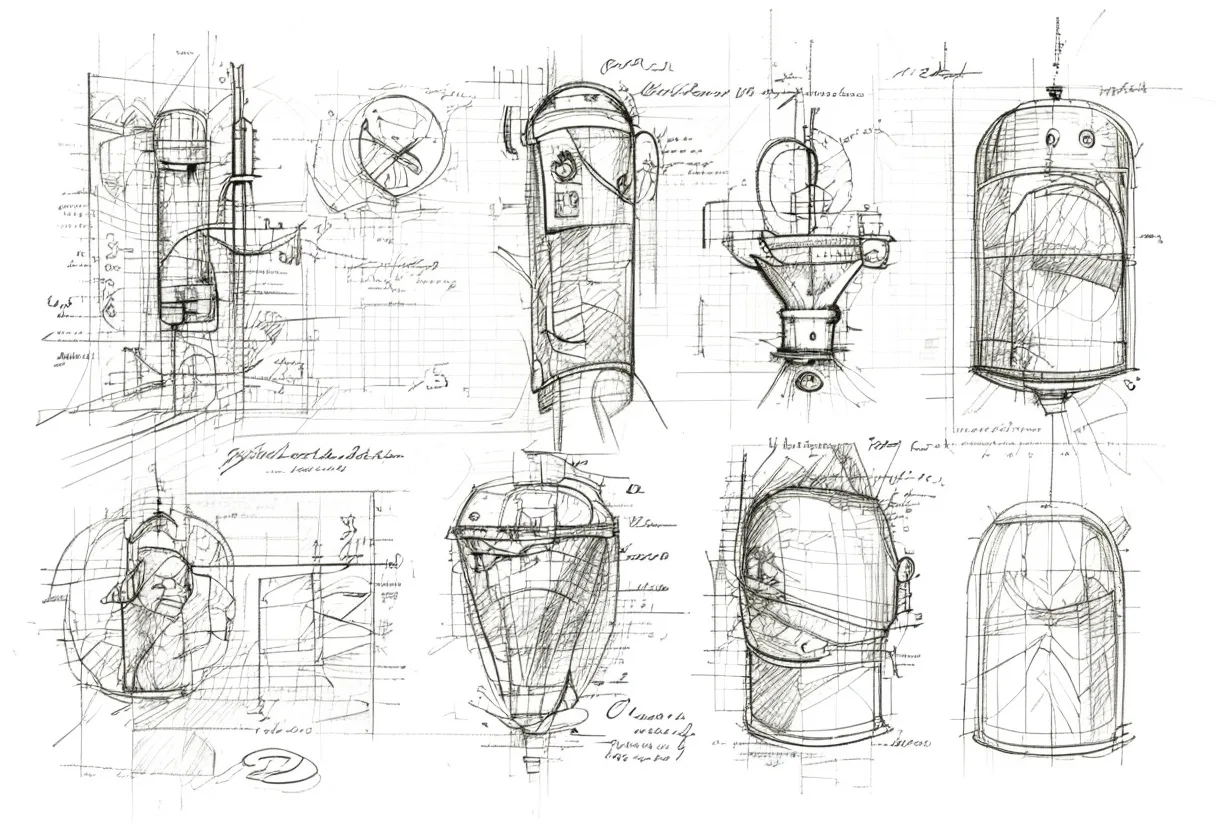
Not all plotter art starts as code or software-generated geometry — a huge amount of the best plotted work begins as a hand-drawn sketch, then gets converted to a vector path the machine can reproduce. Whether it’s a quick pencil idea or a finished ink illustration, here’s the complete workflow for getting hand-drawn art onto your plotter.
Step 1: Capture the sketch cleanly
Flatbed scanner (preferred): Scan at 300–600 DPI in grayscale. A scanner gives even lighting, no lens distortion, and a flat, undistorted capture — the best possible starting point for vectorizing.
Phone camera (acceptable): If you don’t have a scanner, shoot straight down at the page in flat, diffuse light (avoid direct sun or a single lamp, which creates shadows that confuse the trace). Use a photo-editing app or Photoshop’s perspective correction to square up any keystoning before moving on.
Either way, aim for maximum contrast between the line work and the paper — a clean white background with dark, consistent lines vectorizes far more cleanly than a sketch with smudges, eraser marks, or uneven pencil pressure.
Step 2: Clean up in a raster editor
Before vectorizing, spend a few minutes in any image editor (Photoshop, GIMP, Photopea — even free phone apps):
- Increase contrast so lines are solidly dark and the paper is solidly light
- Remove smudges, eraser marks, and stray pencil lines with the clone/spot-heal tool
- Crop to just the artwork
- Consider a levels/curves adjustment to push midtones toward pure white or pure black — this dramatically improves automatic vectorizing
This cleanup step is the single highest-leverage thing you can do for a clean trace. A messy scan produces a messy, over-complicated SVG with hundreds of stray micro-paths.
Step 3: Vectorize
Option A: Automatic trace (fast, good for moderate detail)
In Inkscape: select your imported image, go to Path > Trace Bitmap, choose “Brightness cutoff” or “Edge detection” mode, and adjust the threshold slider until the preview captures your lines without picking up noise. Click OK to generate a vector path layer on top of your image.
In Illustrator: use Image Trace with a custom preset — “Black and White Logo” or a custom threshold setting works well for line art.
After tracing, delete the original raster image, leaving just the vector paths.
Option B: Manual trace (slower, most faithful)
Import the cleaned scan as a locked, dimmed reference layer. Create a new layer above it and use the Bezier/Pen tool to manually trace over your lines. This takes longer — anywhere from minutes to hours depending on complexity — but gives you full control over line simplification, intentional smoothing, and which details to keep or drop.
Manual tracing is the right call when: the automatic trace produces messy results, you want to deliberately simplify a complex sketch, or you’re adapting the line weight/style as you go (e.g., turning loose pencil strokes into confident single-width lines).
Step 4: Simplify the path
Automatic traces often produce paths with far more anchor points than necessary — every small pencil wobble becomes a node. In Inkscape, select the path and use Path > Simplify (Ctrl+L) to reduce node count while preserving the overall shape. Apply it incrementally — too much simplification flattens character; too little leaves a jittery, over-detailed line.
Step 5: Check stroke vs fill
This is the most common gotcha (covered in more depth in our Illustrator SVG export guide): vectorizing software sometimes converts line art into filled black shapes rather than stroked paths. A plotter draws strokes, not fills — if your traced lines are filled shapes, the plotter will draw only their outlines, not the original line.
Check by toggling fill to none in your editor: if the artwork disappears, it was filled, not stroked, and you need to either re-trace in “stroke” mode (some tools support this) or use Path > Outline to Path in reverse, or apply a centerline-tracing algorithm instead of an outline trace.
Step 6: Optimize and plot
Run the cleaned, simplified SVG through vpype to merge nearby path segments and optimize travel order:
vpype read sketch.svg linemerge linesort write sketch_plot.svgThen plot with a pen that matches the character of your original — a firm fineliner like Pigma Micron for clean technical reproduction, or a softer pen if you want to preserve some of the organic, hand-drawn feel.
A realistic expectation
A vectorized hand sketch will always look slightly different from the original — cleaner, more uniform, with the natural pressure variation of a hand removed. Some artists chase this effect deliberately (it’s a distinct aesthetic — “drawn then redrawn by machine”); others prefer manual tracing specifically to retain more of the wobble and character. Neither is wrong — know which effect you want before you start tracing.
Frequently asked questions
What's the best way to scan a sketch for plotting?
A flatbed scanner at 300–600 DPI in grayscale gives the cleanest result — even, consistent lighting and no lens distortion. A phone camera works in a pinch but introduces perspective skew and uneven lighting that complicates the vectorizing step. If using a phone, shoot straight-on with flat, diffuse light and correct perspective in an editor before tracing.
Does a pen plotter reproduce a hand-drawn sketch exactly?
Not exactly — a plotter draws clean vector paths, while a hand sketch has natural pressure variation, slight wobble, and texture that vectorizing smooths out. Some artists like this cleaned-up effect; others prefer to manually trace with the Bezier pen tool to deliberately preserve more of the original character.
What software vectorizes a scanned sketch automatically?
Inkscape's built-in Trace Bitmap tool (Path > Trace Bitmap) is free and effective for moderate-detail line drawings. Adobe Illustrator's Image Trace does the same job with more presets. For very precise reproduction, manual tracing with the Bezier/Pen tool over a locked reference layer often beats automatic tracing.
Gear mentioned in this post
Inkscape Project Inkscape (Free)
4.7 (2,100)The free, open-source vector editor that doubles as the native design and machine-control interface for AxiDraw and NextDraw plotters.
Best for: Design and machine control in one free application
Antoine Beyeler vpype (Free)
4.9 (480)The command-line Swiss-army knife for pen plotter SVGs — optimizes, reorders, merges, crops and prepares vector files for cleaner, faster plots.
Best for: Everyone — mandatory step between generative art and plotting
Sakura Pigma Micron Fineliner Set
4.8 (5,400)Archival pigment fineliners that are the de facto default for pen plotting — consistent line width, fade-proof ink and almost no skipping.
Best for: Clean, consistent line art on most papers