Pen Plotter Height and Pressure Settings Explained
Pen-down height and pressure are the most-adjusted settings on any plotter — and the least explained. Here's how they actually work and how to dial them in.
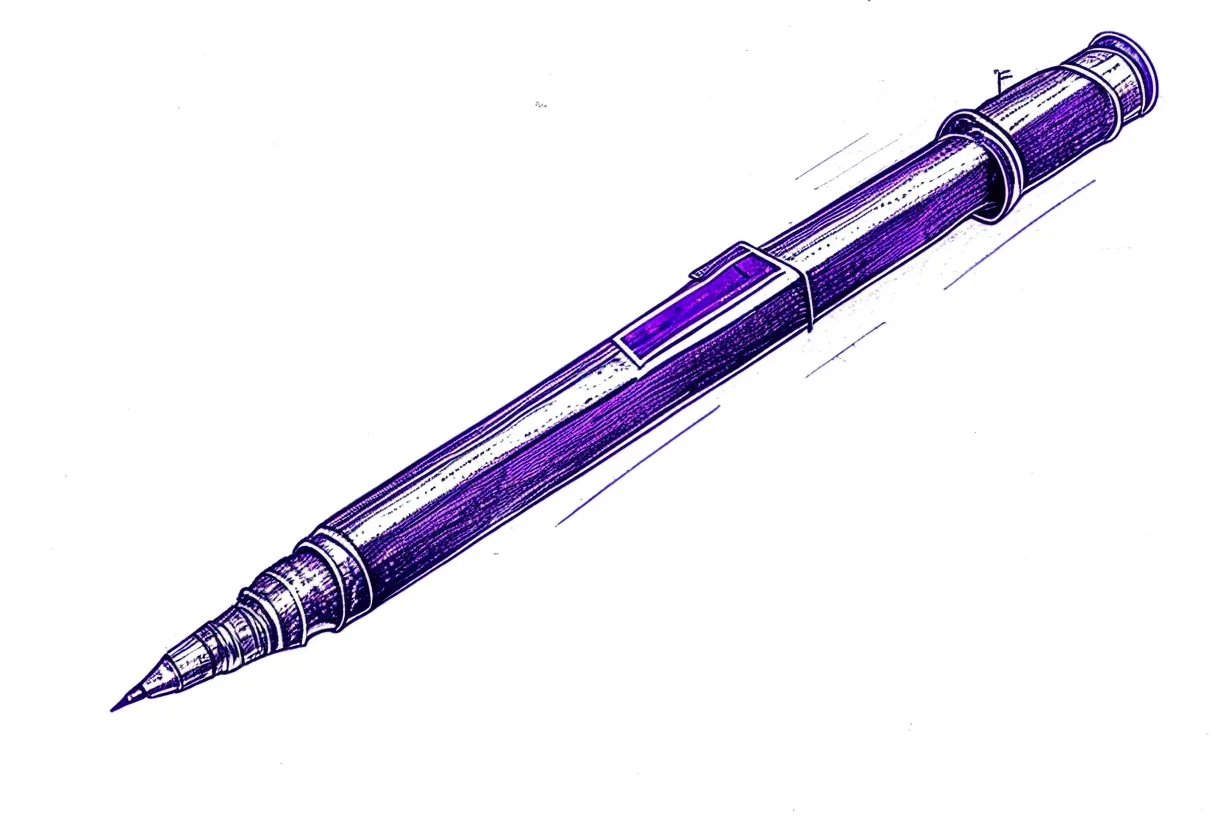
Of all the settings you’ll tune on a pen plotter, pen-down height is the one that causes the most frustration when wrong and the most satisfaction when right. It’s also the setting that’s least clearly explained in most documentation. Here’s what’s actually happening and how to get it right.
What “pen-down height” really means
A pen plotter raises and lowers its pen using a servo or solenoid. In the “up” position the pen clears the paper so the machine can travel without drawing. In the “down” position it presses the pen against the paper to draw.
The pen-down height is the physical position of the pen tip when the servo moves to “down”. Because every pen is a slightly different length, and every paper is a slightly different thickness, this is always a per-setup adjustment — you can’t set it once and forget it.
On most plotters (AxiDraw, NextDraw, iDraw), pen-down height is controlled by:
- A physical clamp height — where in the mount you grip the pen
- A software servo angle — how far the servo rotates when going down
These two work together. The typical workflow: clamp the pen so the tip is near the paper surface in the “up” position, then use the software to fine-tune the down position.
The pressure relationship
“Pen-down height” and “pen-down pressure” sound different but they’re the same thing in practice. On a rigid mount, lower = more pressure. There is no independent pressure control — you set height, and height determines contact force.
This is why it’s critical to set height correctly:
- Too little contact: pen barely touches, lines are pale, skip at higher speeds
- Too much contact: nib over-pressed, ink pools at slow points and corners, tip wears rapidly
The goal is the minimum height that gives consistent line coverage at your operating speed.
How to tune pen-down height
Step 1: Clamp the pen conservatively high — tip just above the paper in the “up” position.
Step 2: Command pen-down using whatever utility your plotter provides (AxiDraw’s Inkscape extension has a manual pen-lower button).
Step 3: Draw a test line at normal speed and inspect.
Step 4: Adjust incrementally. If lines are pale or patchy, lower the pen (either lower in the clamp or increase the servo down angle). If ink pools, raise it.
Increments of 0.25–0.5 mm make a visible difference. Approach from too-high, not too-low — you can always go lower, but you can’t un-wear a nib.
The flat bed matters more than you think
The pen-down height assumes the paper surface is at a consistent height across the whole bed. If your surface varies — warped paper, an uneven mat, or a plotter with slight bed tilt — lines will be inconsistent even with perfect height settings.
Mitigation strategies:
- Tape paper flat to a self-healing mat before plotting
- Use heavier paper (200 g/m²+) that lies flatter
- Fit a spring-loaded pen holder — it provides constant contact pressure regardless of minor surface variation, solving many inconsistency problems without any bed re-levelling
Speed affects the effective pressure
Here’s the subtle thing: at higher speeds, the pen spends less time at each point, so lines get lighter. At lower speeds, ink builds up more. You’ll often need to re-tune height (or paper type) when you change plot speed significantly.
A pen-down height that gives perfect lines at 50 mm/s may give pale lines at 80 mm/s. This is normal — it’s not a machine fault.
Pen-type differences
Fineliners: the most forgiving. A fairly wide range of heights works. Err slightly light — they last longer.
Gel pens: need positive contact. Gel ink is thicker and requires slightly more force to transfer. If gel lines are patchy, go a little lower.
Brush pens (like the Tombow Fudenosuke): very sensitive to height. Too much and the tip splays; too little and it barely marks. Approach with small adjustments.
Paint markers (Posca, Molotow): require positive contact but the tip is robust. Watch for ink pooling at direction changes if too much pressure is applied.
Quick reference
| Problem | Likely cause | Fix |
|---|---|---|
| Pale / patchy lines | Pen too high | Lower pen or increase servo angle |
| Ink pools at corners | Pen too low | Raise pen slightly |
| Lines vary across page | Uneven surface | Use spring holder or tape paper flatter |
| Tip wears fast | Over-pressure | Raise pen to minimum working height |
| Lines pale at high speed | Normal effect | Lower pen slightly or slow down |
Frequently asked questions
What is pen-down height on a pen plotter?
Pen-down height is how far the plotter lowers the pen when drawing. Too high and the pen barely touches the paper; too low and it drags or over-presses the tip. It's set by a physical adjustment on the pen mount, not (usually) in software.
Why do I get inconsistent lines even with correct height?
Most commonly: paper isn't flat (tape it down), the bed surface isn't level, or there's flex in the pen mount. A spring-loaded pen holder compensates for minor surface variation automatically.
How do I know if my pen-down pressure is too high?
Signs of over-pressure: tip wear much faster than expected, ink pooling at direction changes, and visible indentation in the paper. Signs of too little: pale or incomplete lines, especially at higher speeds.
Gear mentioned in this post
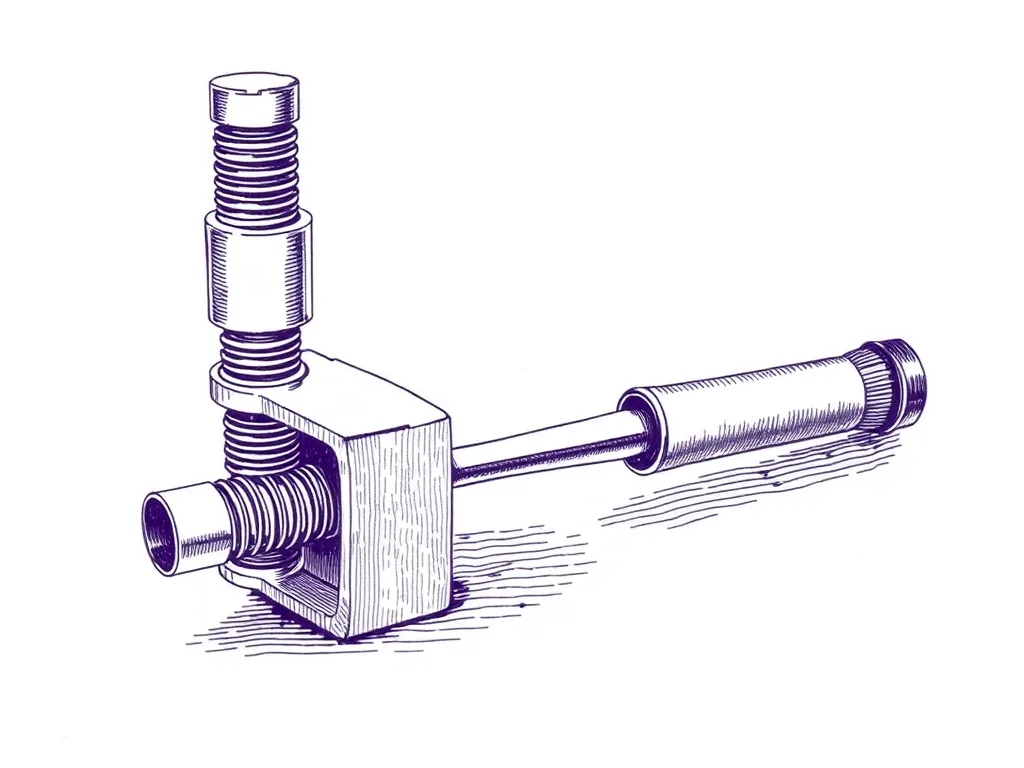
Generic Spring-Loaded Pen Holder Adapter
4.4 (540)A sprung pen mount that keeps constant pen-down pressure across uneven paper — the cheapest fix for skipping and inconsistent line weight.
Best for: Consistent line weight and fewer skips
OLFA Self-Healing Cutting Mat
4.7 (8,700)A flat, gridded, forgiving work surface that gives your plotter a dead-level bed, helps you square paper, and protects the table underneath.
Best for: A flat, square reference bed for your plotter
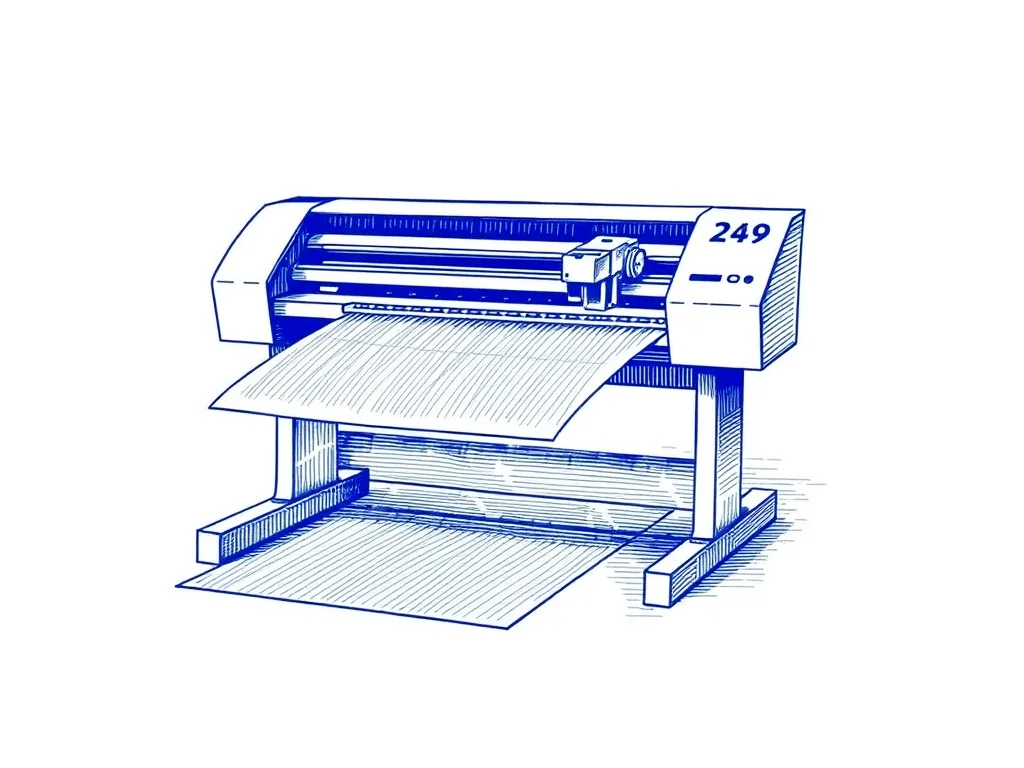
Evil Mad Scientist AxiDraw V3/A3
4.9 (312)The pen plotter that serious plotter artists upgrade to — precise, quiet, and compatible with nearly every pen and surface you'd want to draw on.
Best for: Artists ready to invest in the best
Bantam Tools NextDraw 8511
4.8 (64)The official successor to the AxiDraw — same beloved workflow, refined hardware, and a US letter / A4 drawing area for desktop plotting.
Best for: Buyers who want the AxiDraw lineage, current-production