How to Make Your First Pen Plot: A Step-by-Step Guide
Making your first pen plot is simpler than it looks. This step-by-step guide takes you from a blank machine to clean ink on paper in under an hour.

Your first pen plot is a small thrill: a machine picks up a pen you chose and draws a design you made, in real ink, on real paper. It feels like magic the first time. It’s also far simpler than the wall of forum posts and YouTube tutorials makes it look. Here’s the whole process, start to finish.
What you need
You need surprisingly little to make your first pen plot:
- A pen plotter — any XY plotter or drawing-arm machine. An iDraw or AxiDraw-class machine is the common starting point.
- A pen — a Pigma Micron fineliner is the safe default. Almost any pen that fits the clamp works.
- Paper — printer paper is fine for your very first test. Save the good stock for later.
- Software — Inkscape with your plotter’s plugin (AxiDraw) or a GRBL sender like LaserGRBL (most kit plotters).
Step 1: Set up the machine
Place the plotter on a flat, stable surface. A wobbly table shows up as wobbly lines. Connect it to your computer via USB and install the software your plotter requires. For AxiDraw that’s Inkscape plus the AxiDraw extension; for GRBL machines it’s a serial sender.
Power on, and run the homing routine if your machine has one — it moves the head to a known starting corner so the plotter and your design agree on where “zero” is.
Step 2: Load a pen
Loosen the pen clamp, drop your pen in, and tighten it so the pen is held firmly and pointing straight down. The critical detail is pen height: the tip should just touch the paper when the head is lowered, with a little spring or downward pressure — not so high it skips, not so low it drags or digs.
Mark the correct insertion depth on the pen barrel with a piece of tape. You’ll thank yourself when you swap pens later.
Step 3: Prepare a simple design
Open a simple SVG in Inkscape — line art, a geometric pattern, or a test grid. Two rules for a first plot:
- Lines, not fills. Plotters draw strokes. A shape filled with solid black is meaningless to a plotter; an outline is perfect.
- Size it to your paper. Set the document to your paper size and scale the art to fit inside the drawable area.
If you want clean results, run the file through vpype first — it merges lines and reorders strokes so the plot is faster and the pen lifts less. It’s optional for your first plot but becomes essential quickly.
Step 4: Run a test stroke
Before committing to paper, lower the pen over a scrap sheet and jog the head a short distance. Confirm the pen lays down ink immediately and consistently. If it skips at the start, the pen needs a moment of cap-off priming or a slightly lower pen-down height.
Step 5: Tape down your paper and plot
Tape all four edges of your paper to the bed with low-tack painter’s tape. This is the single most important habit in plotting — paper that shifts mid-plot ruins registration.
Then hit plot. Watch the first few strokes to make sure everything is behaving, then let it run. Resist the urge to nudge anything while it draws.
Step 6: Lift, dry, admire
When it finishes, let the ink dry for a minute (longer for gel pens) before lifting the tape. Peel slowly from a corner. You’ve made your first pen plot.
Common first-plot mistakes
- Pen too high → skipping and broken lines. Lower it slightly.
- Pen too low → ink pooling, torn paper, or the pen catching. Raise it slightly.
- Paper not taped → drift and misregistration. Tape all four edges.
- Sending fills instead of strokes → the plotter tries to “draw” a solid shape with overlapping passes. Use outlines.
- Skipping the optimization step → unnecessarily long plots. Run vpype.
Once you’ve made one plot, the rest is iteration: better paper, better pens, more interesting designs, and eventually generative art you write yourself. But it all starts with this first sheet.
Frequently asked questions
What do I need to make my first pen plot?
Four things: a pen plotter, a pen that fits its clamp, paper, and a computer running your plotter's software (usually Inkscape with a plugin, or a GRBL sender). That's it — you can make your first plot with a single fineliner and a sheet of printer paper.
How long does a first pen plot take?
A simple line drawing takes 2–10 minutes to plot once it's set up. Your first full session — unboxing, installing software, and running a test — usually takes under an hour.
What should I plot first?
Start with a simple single-color SVG: a piece of line art, a geometric pattern, or a test grid. Avoid dense fills or multi-color designs until you've confirmed your pen height and paper are dialed in.
Gear mentioned in this post
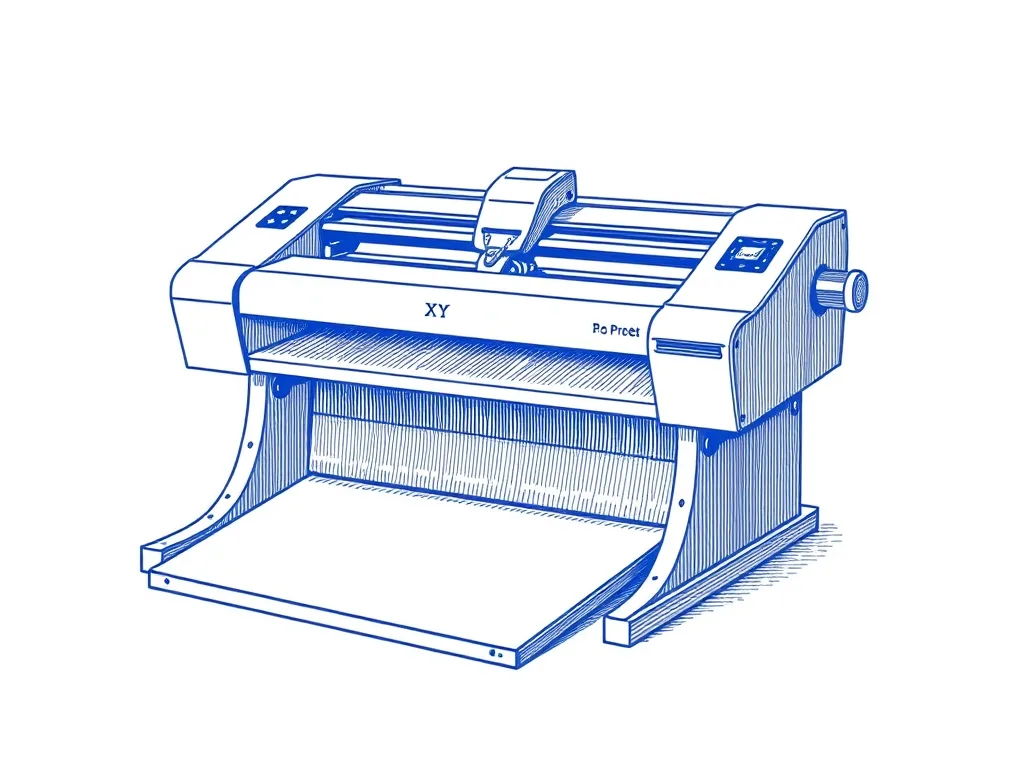
UUNA TEK iDraw 2.0 A3 Pen Plotter
4.3 (218)A large-format desktop XY plotter that draws on paper up to A3 — the most accessible on-ramp to AxiDraw-style plotting without the AxiDraw price.
Best for: Makers who want A3 plots out of the box
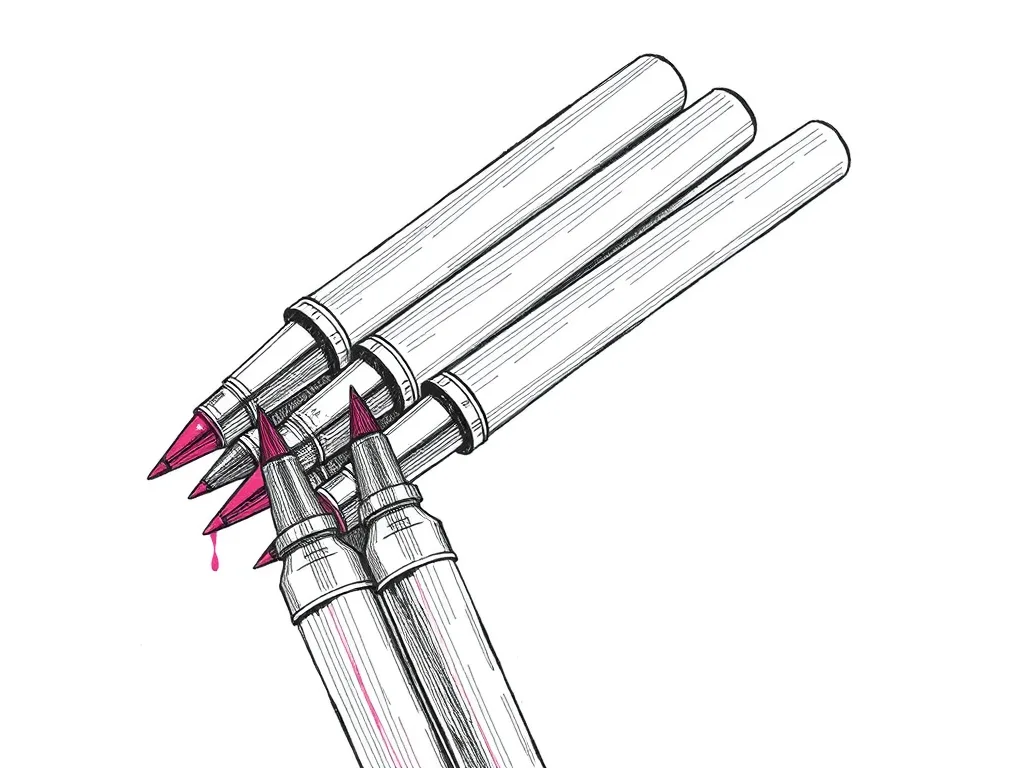
Sakura Pigma Micron Fineliner Set
4.8 (5,400)Archival pigment fineliners that are the de facto default for pen plotting — consistent line width, fade-proof ink and almost no skipping.
Best for: Clean, consistent line art on most papers
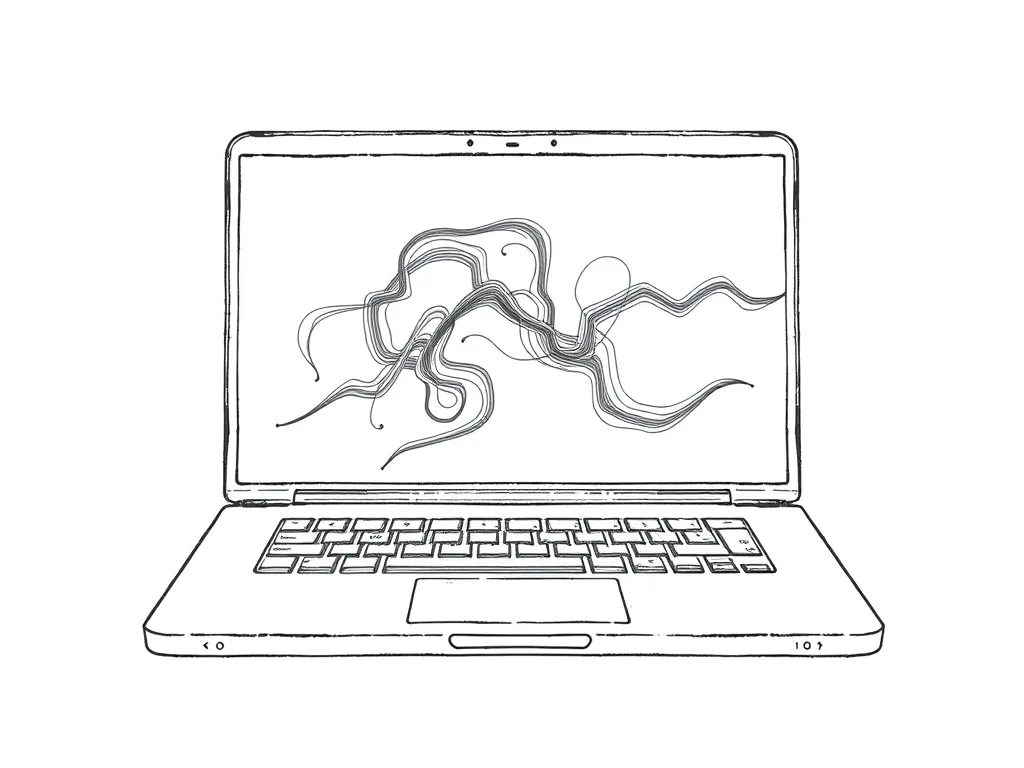
Antoine Beyeler vpype (Free)
4.9 (480)The command-line Swiss-army knife for pen plotter SVGs — optimizes, reorders, merges, crops and prepares vector files for cleaner, faster plots.
Best for: Everyone — mandatory step between generative art and plotting